Explorer challenges 1-10 (treasure maps)
The Explorer challenges are the treasure hunts: High Stakes, Jack Hall Gang, Landmarks of Riches, the Poisonous Trail and the Annesburg sketched map - every map, every spot.
- Reward: Explorer 1-10 complete
- Video time: about 19 min, plus travel
- Steps: 22
- When you can do it: Chapter 2 or 3 (see each step)
The step-by-step version saves your place, times your run and ticks off your Ledger as you go.
The steps
-
High Stakes: find the treasure hunter
- Where: Between Hawks Eye Creek and the Dakota River (map at 15:12)
- When: Sunny, between 10 AM and 12 PM
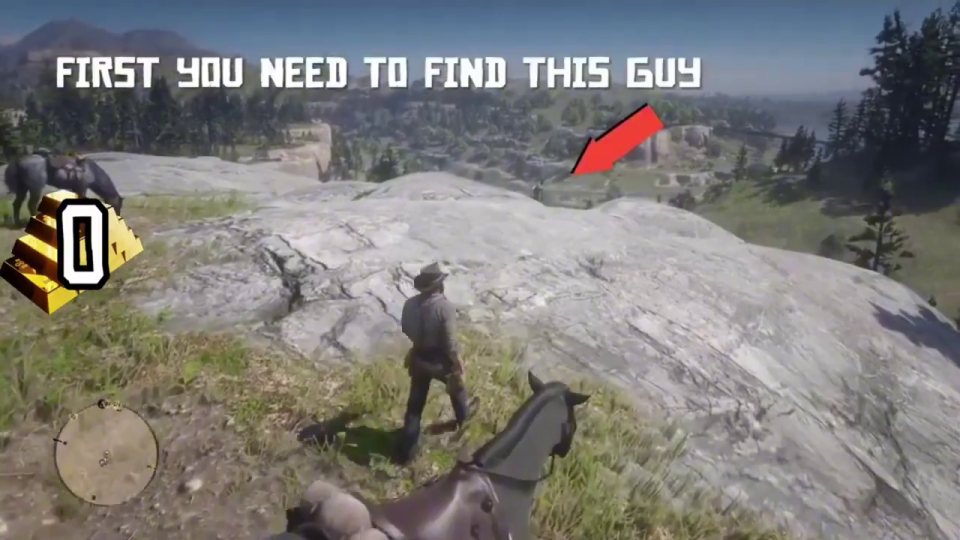
First find this man - he has the High Stakes map. You can do this in any chapter.
- Ride to the spot on the map
- Look for the man standing alone
Watch out: If he is not there: 1) make sure it is sunny, 2) try between 10 AM and 12 PM (in-game time).
-
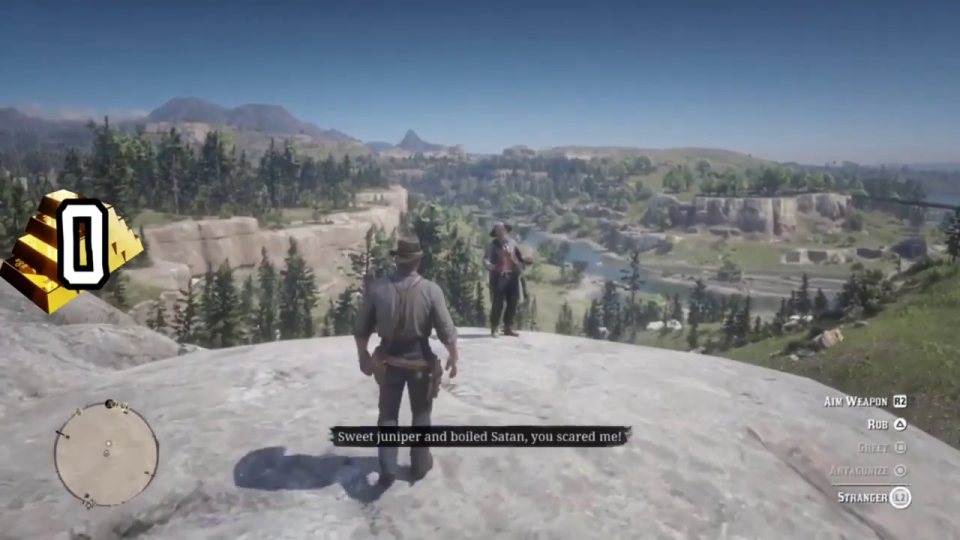
Steal the map: lasso and hogtie him
- Weapon or tool: Lasso
Aim at him and talk, then lasso him and hogtie him. Search him and take the map.
- Lasso him
- Hogtie him
- Search him and take the High Stakes map
Watch out: This costs honor.
-
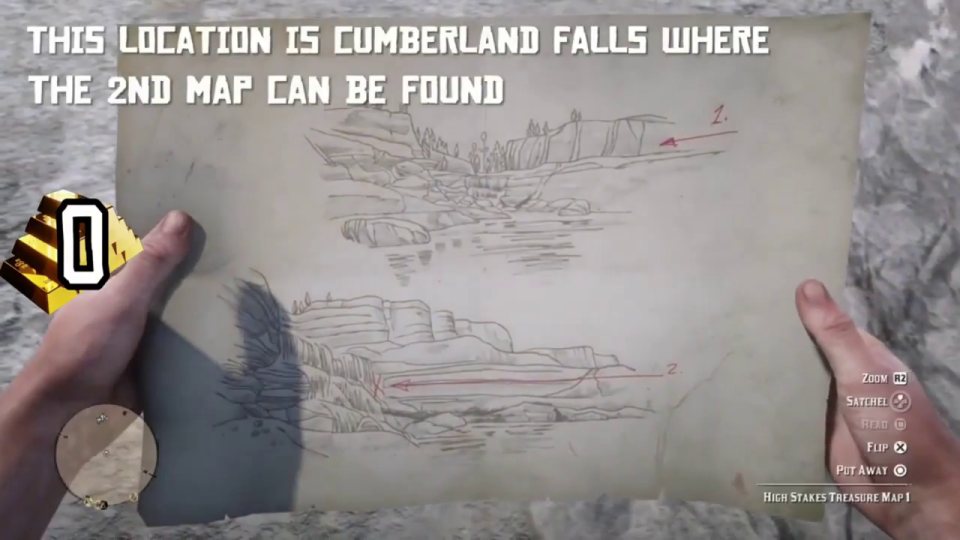
Map 2: Cumberland Falls
- Where: Cumberland Falls, near Valentine
The map shows Cumberland Falls, where the 2nd map is. Ride there (it is next to Valentine).
-
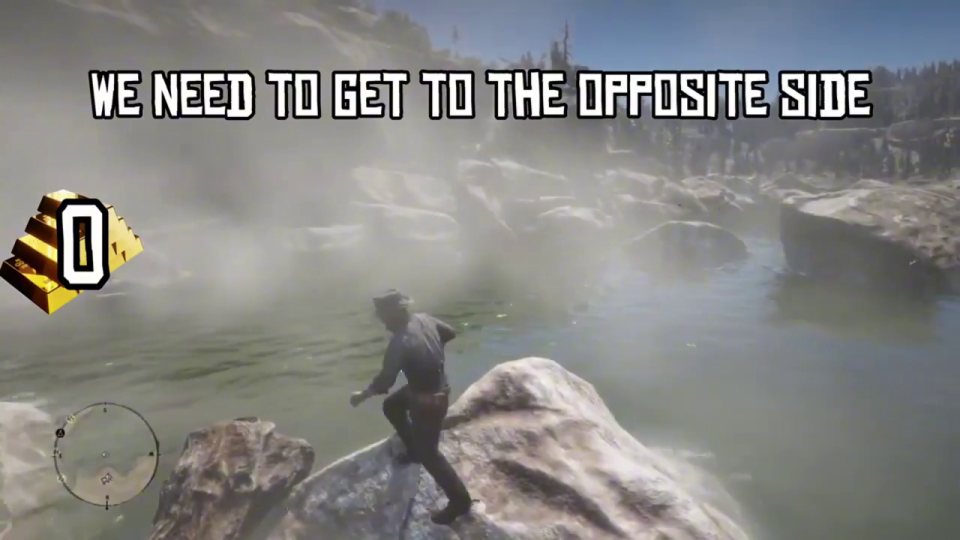
Climb to the opposite side
You need to get to the opposite side of the falls. If you do not have enough stamina, drink a tonic BEFORE you start.
- Drink a stamina tonic if low
- Climb across to the other side
-
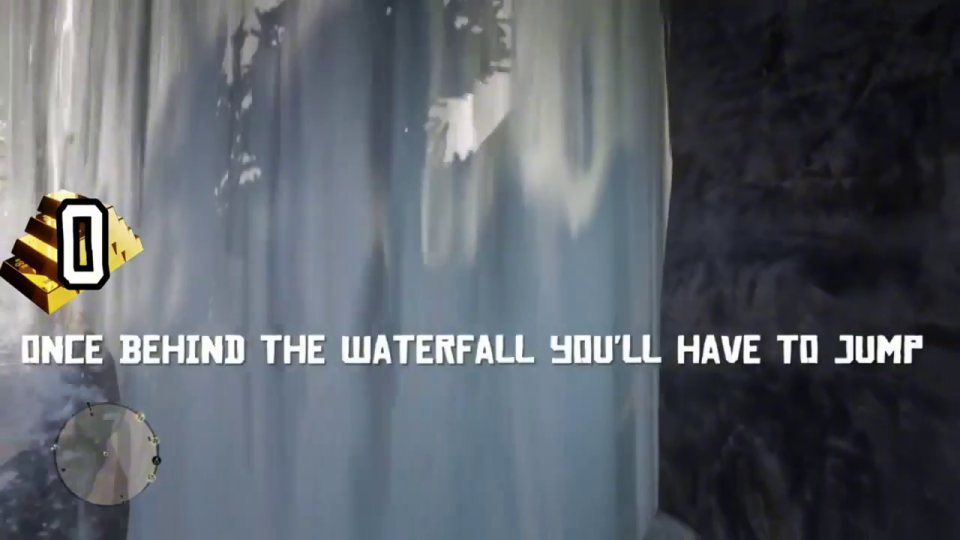
Jump behind the waterfall
Once you are behind the waterfall you have to jump down to reach the map.
- Get behind the waterfall
- Jump down
- Pick up map 3
-
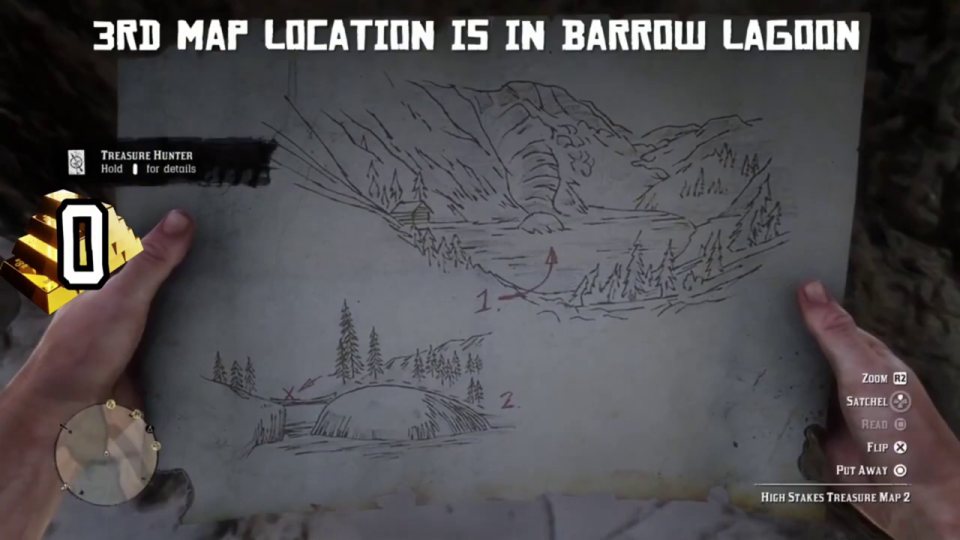
Map 3: Barrow Lagoon - the broken tree
- Where: Barrow Lagoon, Ambarino
The 3rd map location is Barrow Lagoon. Head to the broken tree and search it.
- Ride to Barrow Lagoon
- Find the broken tree
- Take the map
-
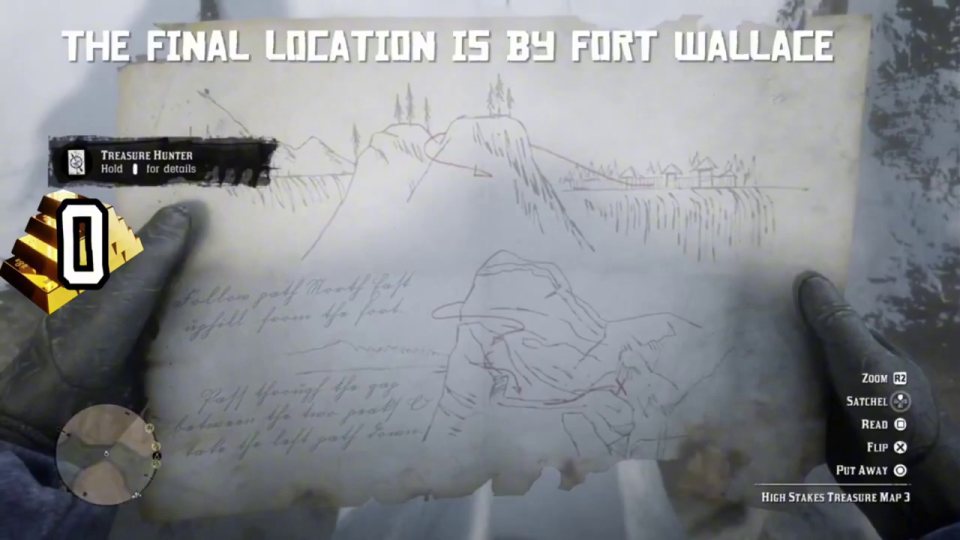
Final spot: by Fort Wallace
- Where: Cliffs by Fort Wallace
The final location is by Fort Wallace. Inspect the rock carving to know you are in the right spot.
- Ride to the cliffs near Fort Wallace
- Inspect the rock carving
-
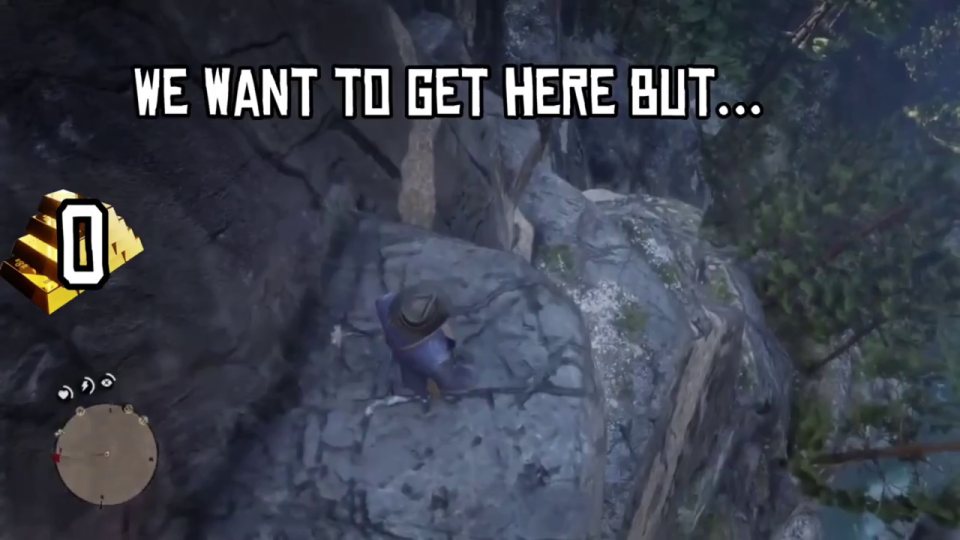
Climb down - do NOT just jump
You want to get down to the ledge, but if you just jump you might die. Climb down the way the video does.
- Climb down carefully
- Take the treasure
Watch out: Jumping straight down can kill you.
-
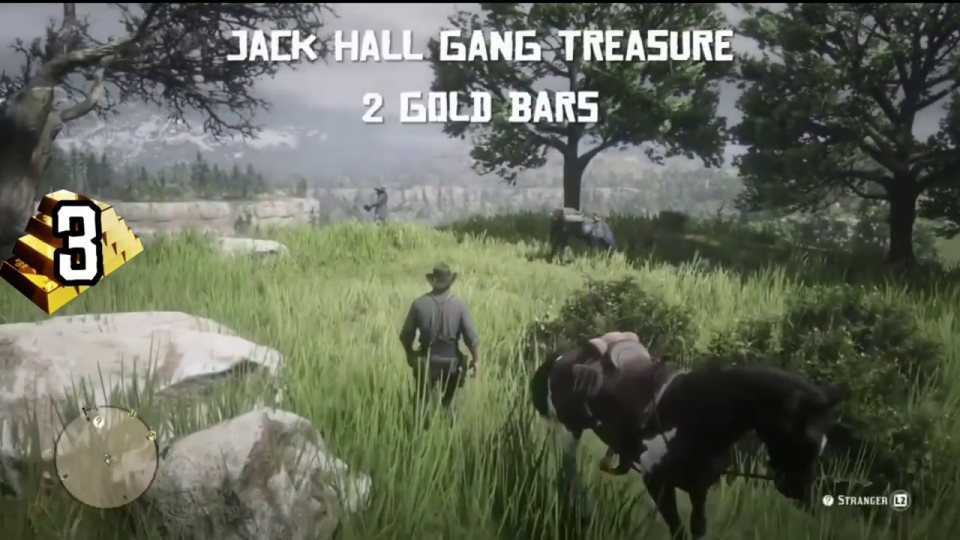
Jack Hall Gang: buy map 1 from Maximo
- Where: Near the Dakota River (map at 21:15)
Go to this spot near the Dakota River. Maximo asks "Senor, can I show you something?" - buy the map for $10 (or rob him).
- Find Maximo
- Buy the map for $10
-
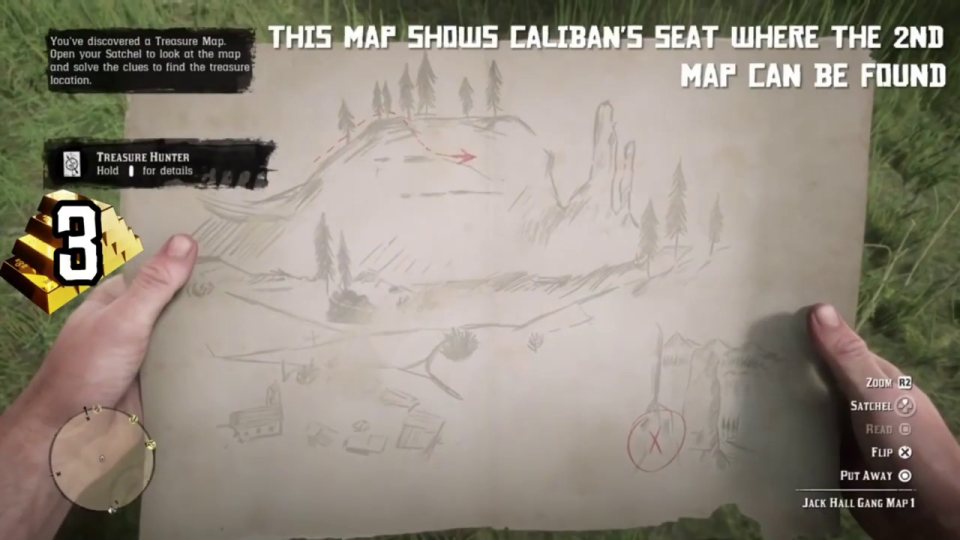
Map 2: Caliban's Seat
- Where: Caliban's Seat, near Valentine
Map 1 shows Caliban's Seat, where the 2nd map is. Climb up to it.
- Ride to Caliban's Seat
- Climb up
- Take map 2
-
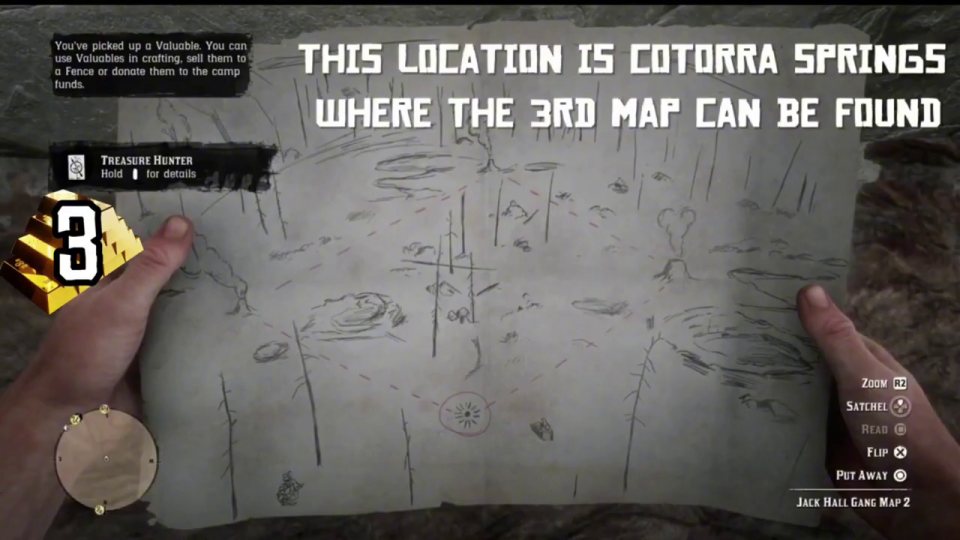
Map 3: Cotorra Springs
- Where: Cotorra Springs, Ambarino
Map 2 shows Cotorra Springs. There are always wolves here (you can hunt the Legendary Wolf here too).
- Ride to Cotorra Springs
- Take map 3
Watch out: Wolves - keep a gun ready.
-
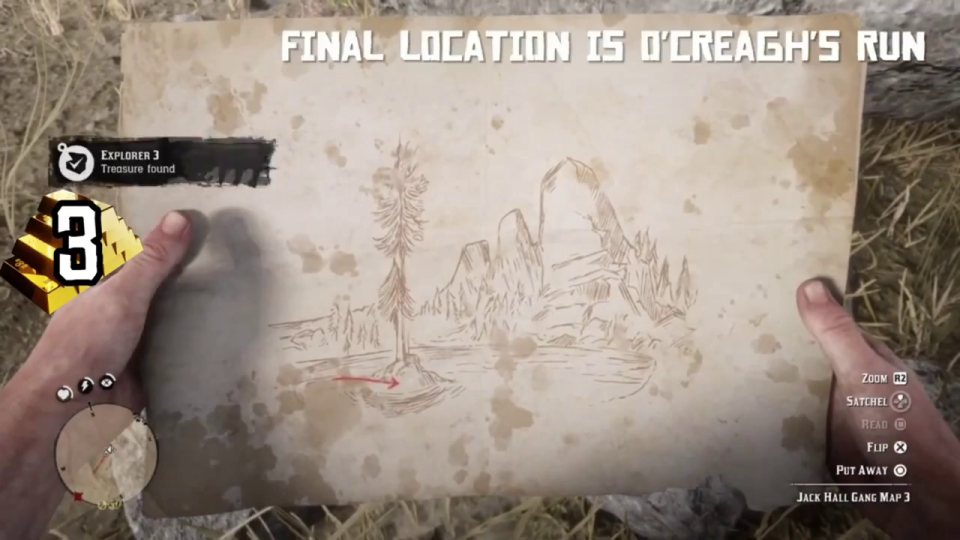
Final: O'Creagh's Run island
- Where: O'Creagh's Run (little island)
The final location is O'Creagh's Run, by Three Sisters and Moonstone Pond. Swim across to the little island from the spot shown and examine the rock.
- Swim from the spot shown
- Examine the rock
- Take the gold
-
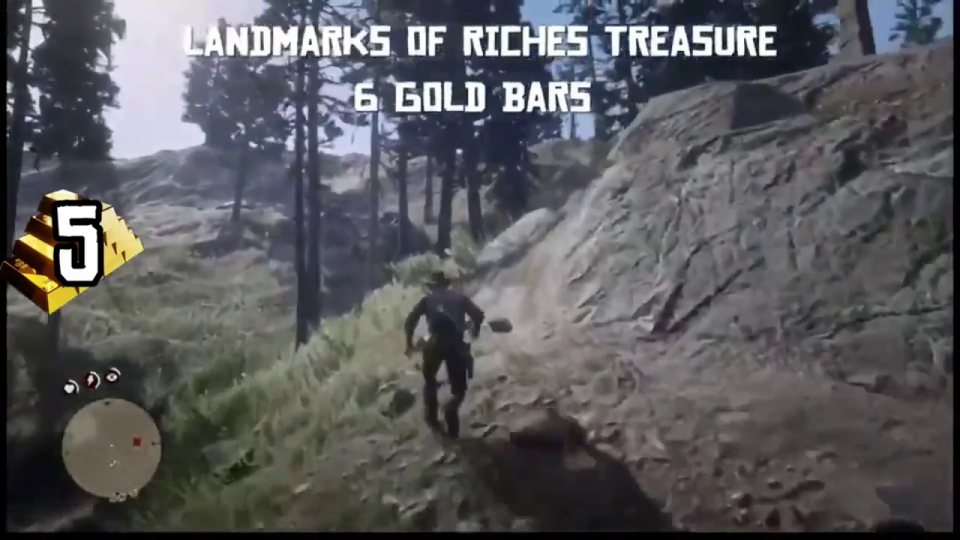
Landmarks of Riches: first clue in Big Valley
- Where: Big Valley (map at 25:21 shows Black Bone Forest, Hawks Eye Creek and Owanjila)
Inspect the structure and examine the plaque - this gives Landmarks of Riches map 1.
- Inspect the structure
- Examine the plaque
- Take map 1
-
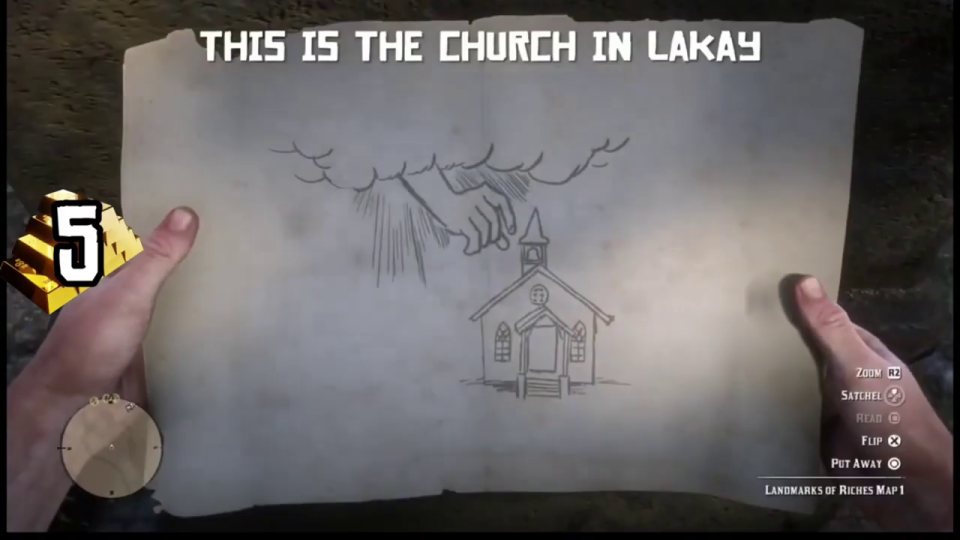
The church in Lakay
- Where: Lakay, Bayou Nwa
Map 1 shows the church in Lakay (Bayou Nwa). Inspect the tiny church.
- Ride to Lakay
- Inspect the tiny church
- Take map 2
-
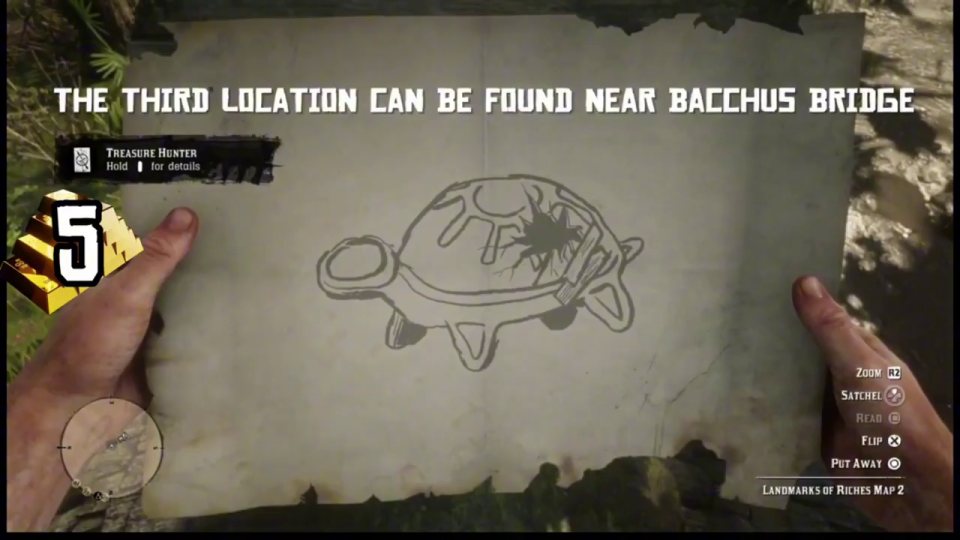
Near Bacchus Bridge: the Mysterious Hill Home
- Where: Mysterious Hill Home, near Bacchus Bridge
Map 2 points near Bacchus Bridge - the Mysterious Hill Home. Inspect the site.
- Inspect the site
- Take map 3
-
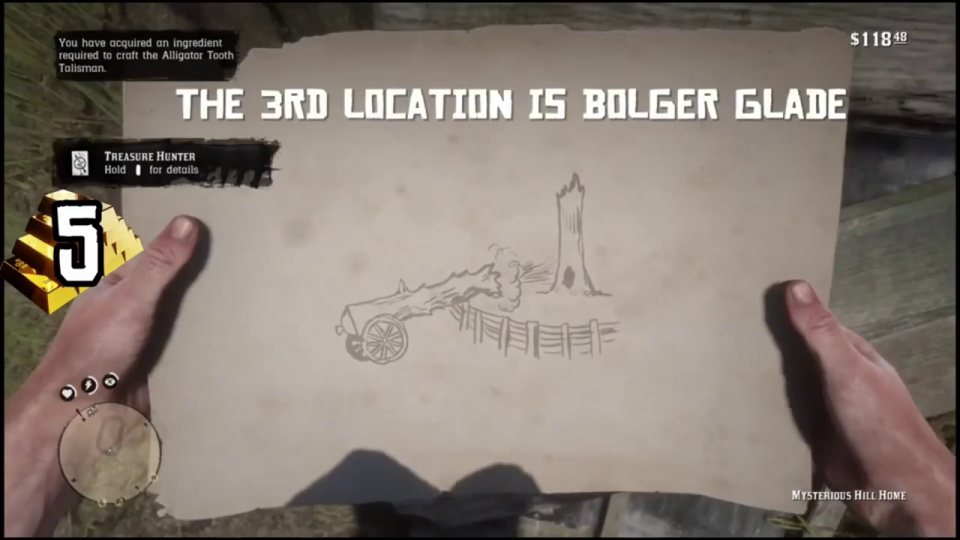
Bolger Glade
- Where: Bolger Glade
Map 3 shows Bolger Glade. Go there for map 4.
- Ride to Bolger Glade
- Take map 4
-
Final: examine the rock
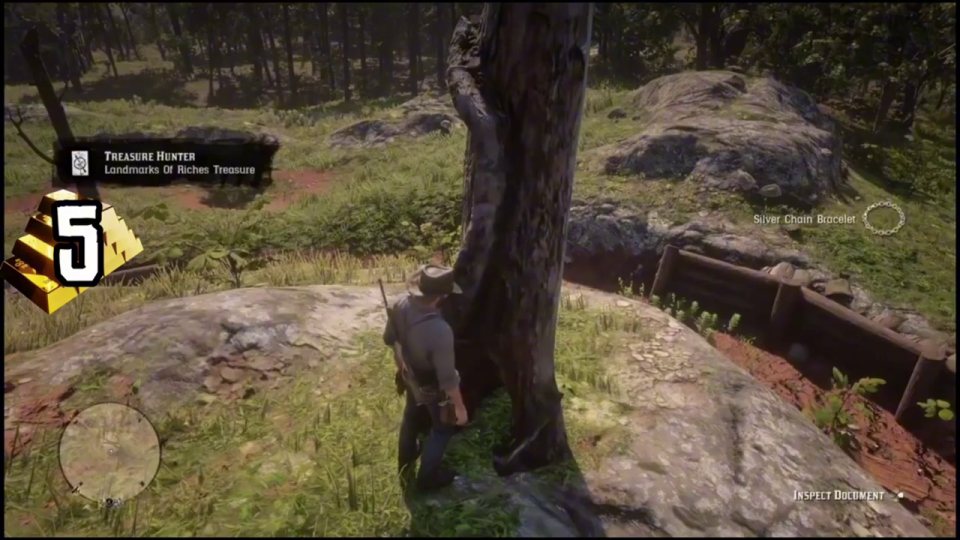
Follow map 4 to the final spot and examine the rock for 6 gold bars.
- Follow map 4
- Examine the rock
-
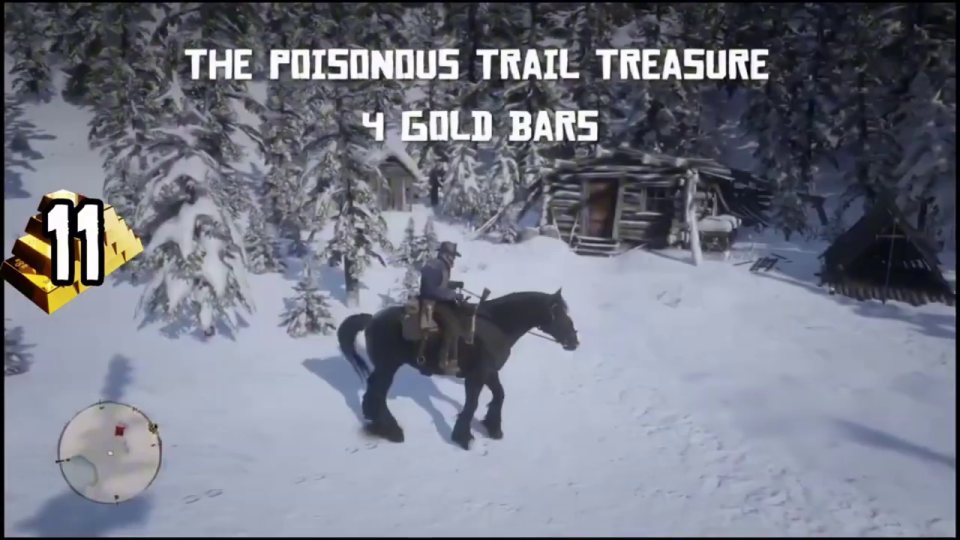
Poisonous Trail: take the first map
- Where: Near Spider Gorge / Mount Hagen
Take the first Poisonous Trail map (the map at 28:57 shows Spider Gorge and Mount Hagen).
-
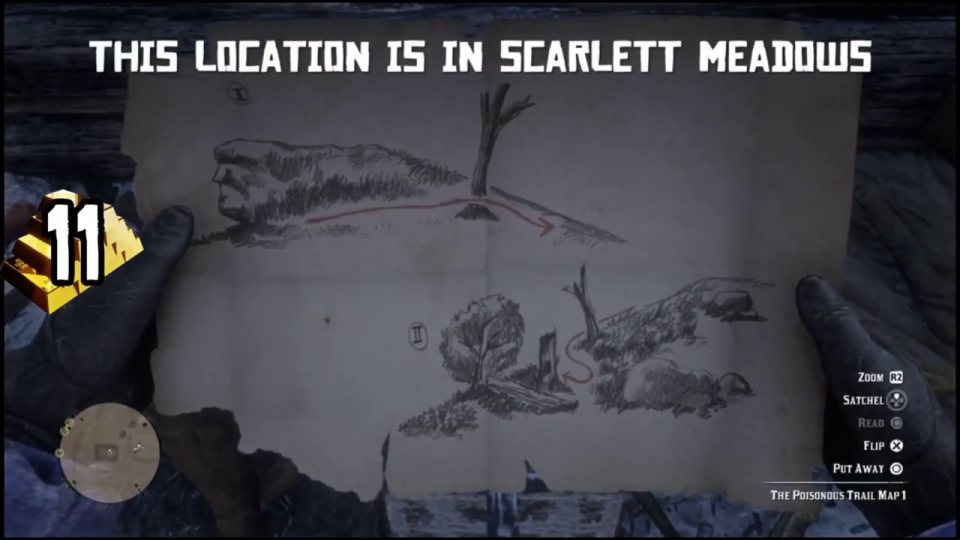
Map 2: Scarlett Meadows
- Where: Scarlett Meadows
Map 1 shows a spot in Scarlett Meadows (near Ringneck Creek, Mattock Pond and Southfield Flats).
- Ride to Scarlett Meadows
- Take map 2
-
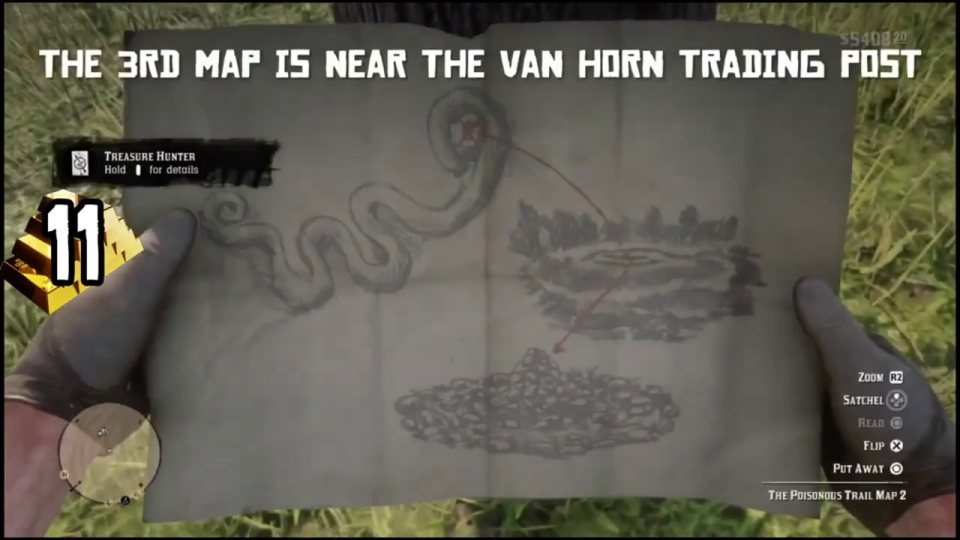
Map 3: near Van Horn Trading Post
- Where: Near Van Horn Trading Post
The 3rd map is near the Van Horn Trading Post.
-
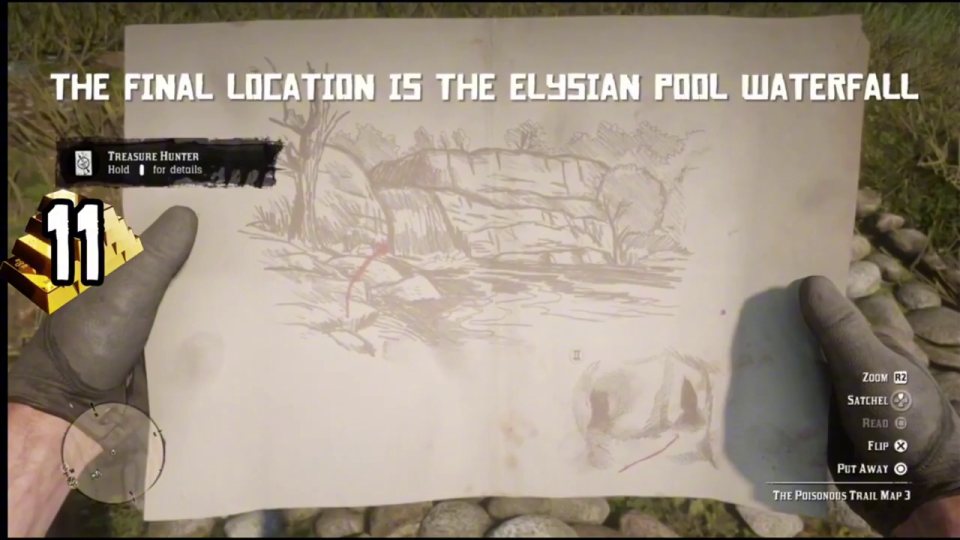
Final: inside the Elysian Pool waterfall
- Where: Elysian Pool waterfall
- Weapon or tool: Lantern
The final location is the Elysian Pool waterfall. Go behind the waterfall, get your LANTERN out and go all the way to the BOTTOM ledge.
- Go behind the waterfall
- Equip your lantern
- Climb to the bottom ledge
- Take the gold
-
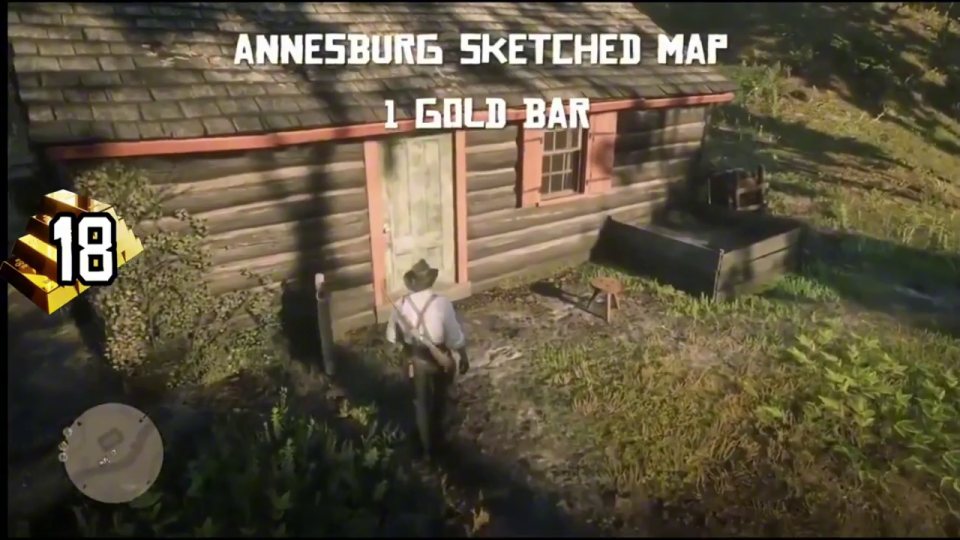
Annesburg sketched map
- Where: Near the Elysian Pool
1 gold bar. Read the sketched map (Roanoke Valley / Brandywine Drop) and inspect the rock it points to near the Elysian Pool.
- Read the sketched map
- Inspect the rock
More challenge guides
- Herbalist challenges 1-5 (Chapter 3)Herbalist challenges 1-5 complete. Video time about 7 min
- Herbalist challenges 6-8 (Chapter 3)Herbalist challenges 6-8 complete. Video time about 15 min
- Herbalist 9: all 43 herbs (Chapter 3)Herbalist 9 complete. Video time about 29 min
- Herbalist 10: cook all 11 meats (Chapter 3)Herbalist 10 complete. Video time about 6 min
- Gambler 8: win blackjack with 3+ hitsGambler 8. Video time about 2 min